
SAML
Set up SAML
Okta
Follow this guide to configure a new SAML SSO application. You must create this connection first in order to generate details needed to set up the connection in the Recover Software. You will need to navigate back to this application to complete the final setup.
SAML Options
In order to successfuly configure SAML Options, you will need to provide the specific details from your IdP
Name | Required | Source |
|---|---|---|
Connection Name | Yes | Arbitrary - Name this connection something relevant to your configuration |
Sign-In URL | Yes | IdP |
Log in Button Display Name | No | Arbitrary - this will present as the login button for your users |
Log In Button Favicon URL | No | Arbitrary - This must be a public URL for the custom login button |
Mappings | No | IdP This can support custom configurations |
Signing Certificate | Yes | IdP |
Configure SAML (UI)
Once you have created your new connection in Okta, you can navigate to the Recover Software's Admin Settings
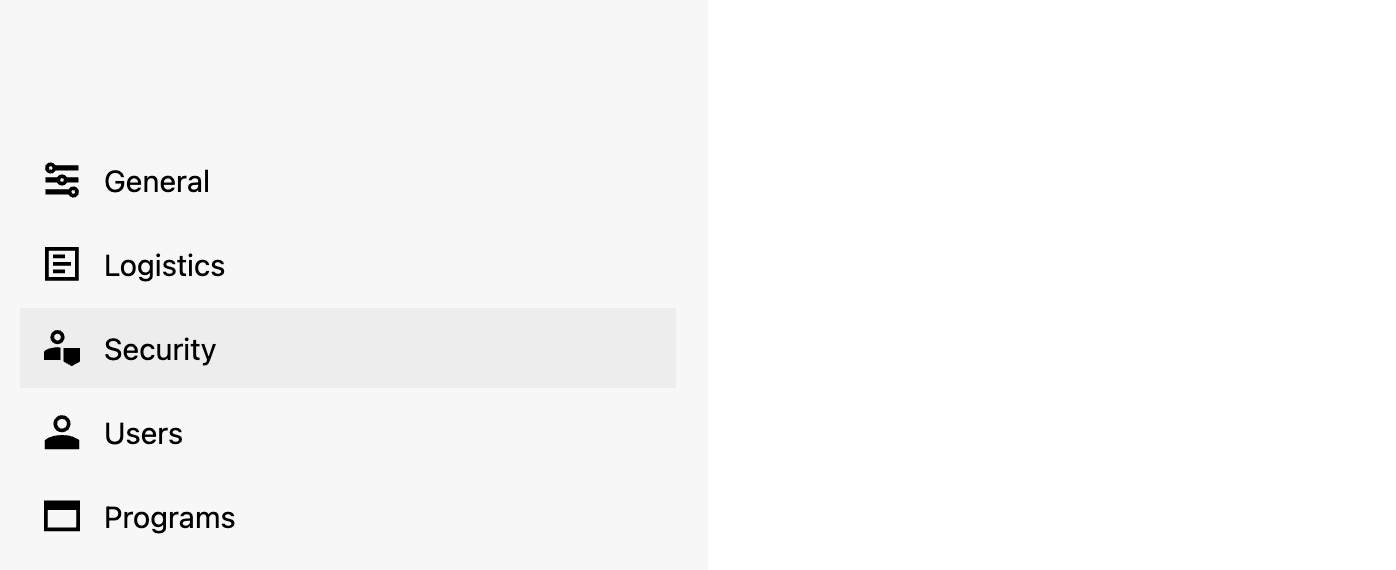
- Select Security > Authentication in the Admin Settings Menu
- Click Single Sign-On (SSO)
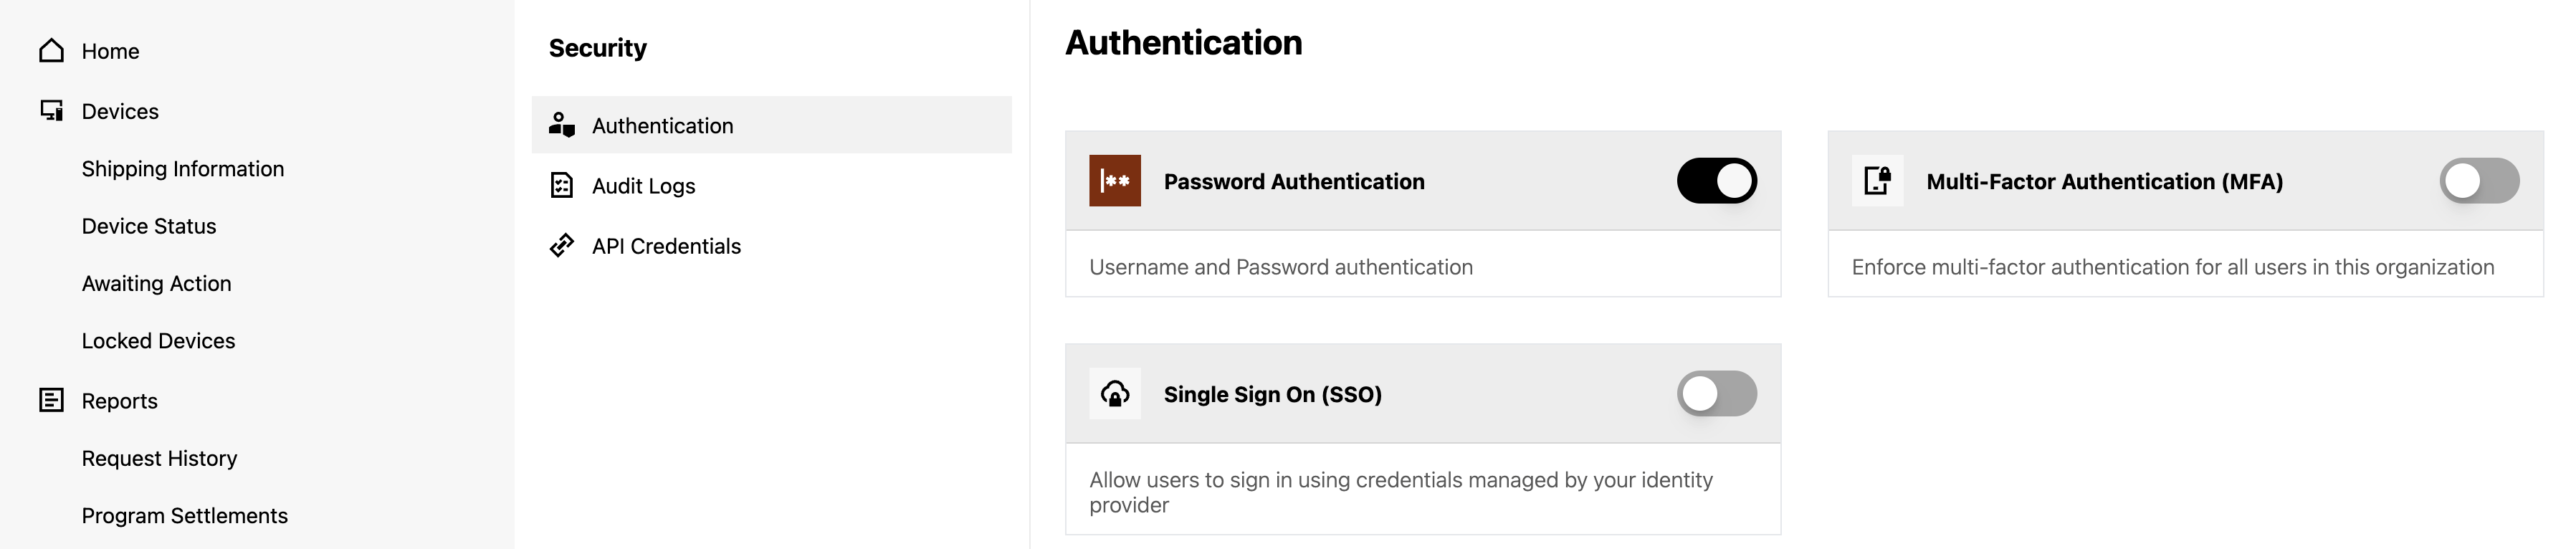
- Choose the SAML Option
- Click Configure
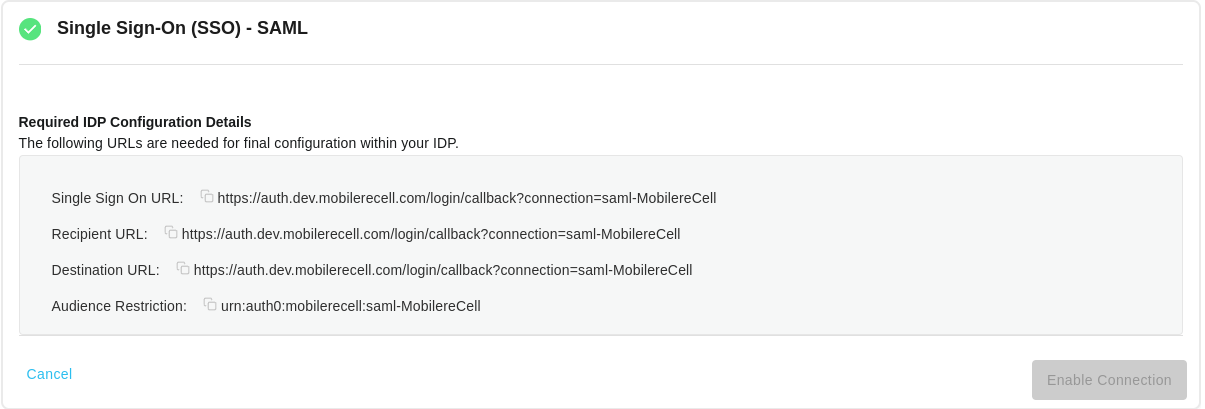
Once your configuration is complete you should see the confirmation and the SSO type configured
Complete the IDP configuration
-
Navigate to the Admin Settings
-
Select Security > Authentication
-
Locate the Single Sign-On Option and click
Manage -
Details will be presented to you that are required to complete the setup in your IdP
Azure
Follow this guide to configure a new SAML SSO application in Azure Active Directory. You must create this connection first in order to generate the details needed to set up the connection in the Recover Software. You will need to navigate back to this application to complete the final setup.
SAML Options
In order to successfully configure SAML Options, you will need to provide the specific details from your IdP
| Name | Required | Source |
|---|---|---|
| Connection Name | Yes | Arbitrary - Name this connection something relevant to your configuration |
| Sign-In URL | Yes | IdP (Azure AD) — found in the Set up section (Login URL) |
| Log in Button Display Name | No | Arbitrary - this will present as the login button for your users |
| Log In Button Favicon URL | No | Arbitrary - This must be a public URL for the custom login button |
| Mappings | No | IdP - This can support custom configurations |
| Signing Certificate | Yes | IdP (Azure AD) — found in SAML Signing Certificate section (Base64) |
Configure SAML (UI)
Once you have created your new application in Azure AD, you can navigate to the Recover Software's Admin Settings
- Select Security > Authentication in the Admin Settings Menu
- Click Single Sign-On (SSO)
- Choose the SAML Option
- Click Configure
Once your configuration is complete you should see the confirmation and the SSO type configured.
Complete the IDP configuration
- Navigate to the Admin Settings
- Select Security > Authentication
- Locate the Single Sign-On Option and click
Manage - Details will be presented to you that are required to complete the setup in your IdP
API
These settings can be configured directly in the API Here
Logging in with your new connection
Once your have successfully configured your new connection, you will see the new option presented in your organization's sign in page. Use the new connection to sign in, rather than entering a username/password.
Removing a connection
You can remove a connection by navigating to the Admin Settings Security > Authentication page again and choose to Remove the connection.
Troubleshooting
The Recover Software provides a tool to view audit logs that can help you troubleshoot your connection.
- Navigate to the Admin Settings
- Choose Security
- Choose Authentication
This will provide a lens into authentication events from your IdP and can be a useful tool in diagnosing configuration issues.
API
These settings can be configured directly in the API Here
Logging in with your new connection
Once your have successfully configured your new connection, you will see the new option presented in your organizations sign in page. Use the new connection to sign in, rather than entering a username/password.
Removing a connection
You can remove a connection by navigating to the Admin Settings Security > Authentication page again and choose to Remove the connection.
Troubleshooting
The Recover Software provides a tool to view audit logs that can help you troubleshoot your connection.
- Navigate to the Admin Settings
- Choose Security
- Choose Authentication
This will provide a lens into authentication events from your IdPand can be a useful tool in diagnosing configuration issues.
Updated 11 months ago